How can I integrate a PassimPay API into my website?
To start processing payments on your website using PassimPay, you'll need to set up a connection between your site and PassimPay by integrating the API.
How to integrate PassimPay API with your website
To get started, simply choose your website from the "Platforms" section. If you need assistance in adding a new website to PassimPay, you can refer to our informative video tutorial
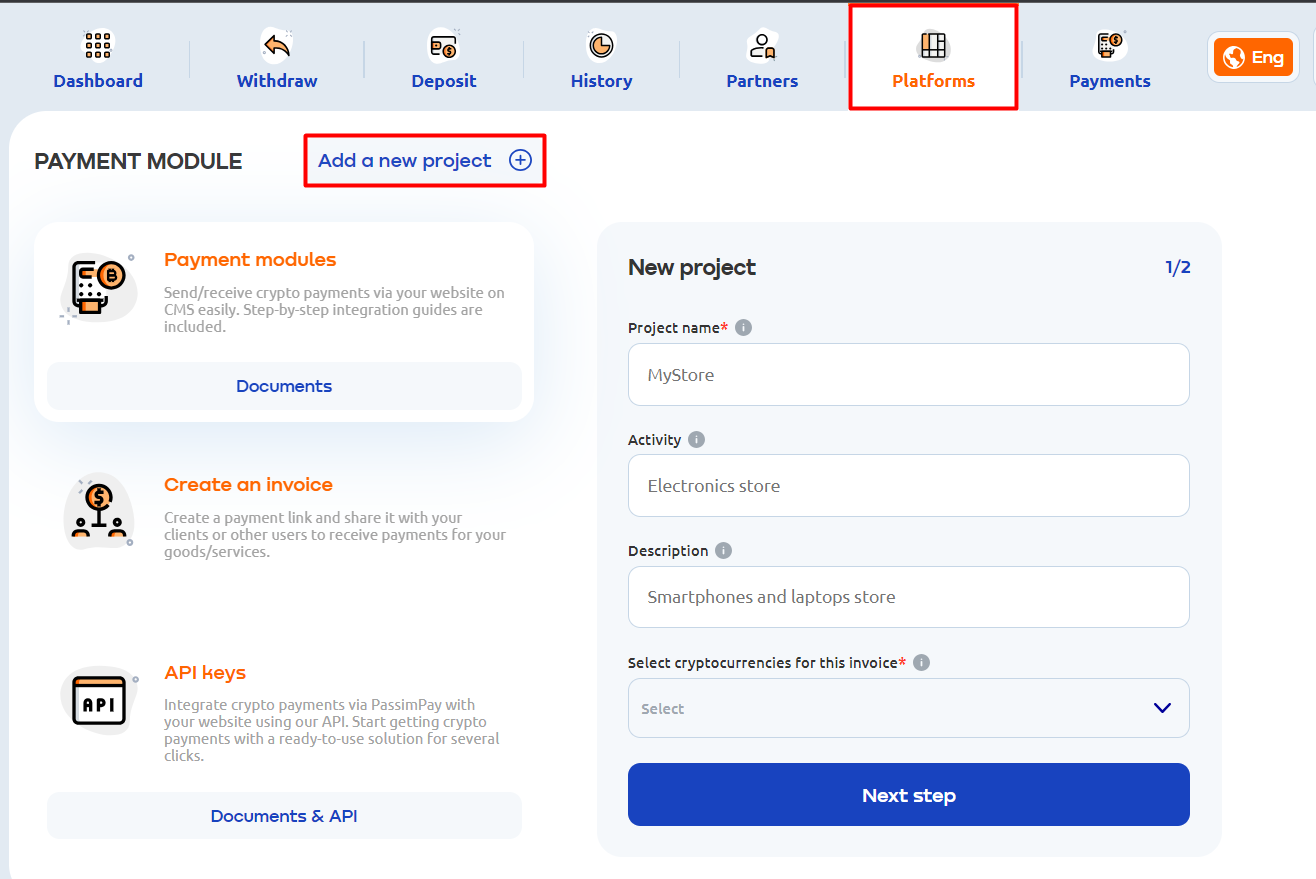
After that, you need to complete several simple steps to complete the integration:
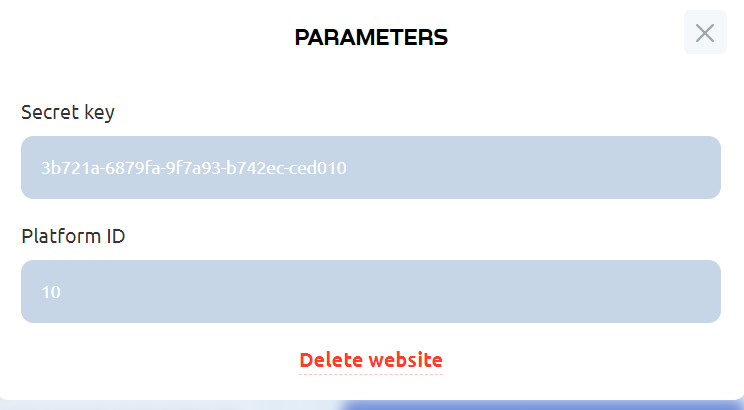
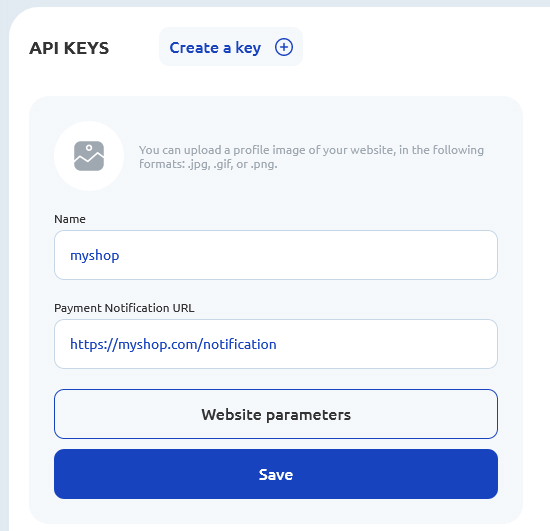
1. After adding the site, open the Website parameters.
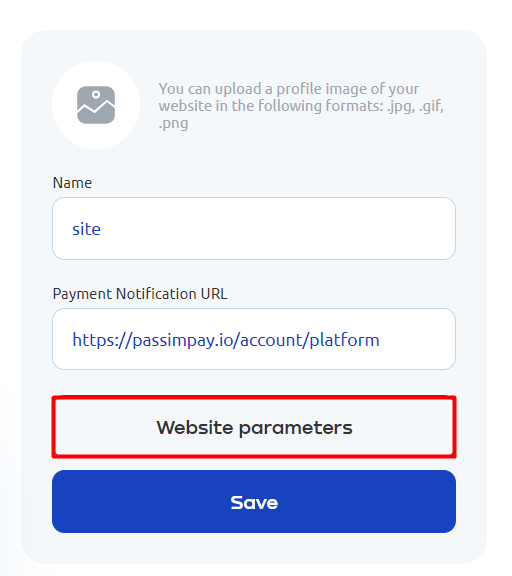
2. Copy and send them to your developer.
Next, you or your developer need to go to the "Documents & API" page which includes all the necessary info for quick API integration.
What currencies do we accept through API?
Please, pay attention to the list of currencies we support and their IDs. Due to them, you can request withdrawals and receive funds via API.
At the moment, our platform supports the following cryptocurrencies:
- Bitcoin BTC ID: 10
- Bitcoin (BEP20) BTC ID: 201
- Litecoin LTC ID: 30
- Bitcoin Cash BCH ID: 50
- Ethereum ETH ID: 20
- Ethereum (BEP20) ETH ID: 202
- Dogecoin DOGE ID: 40
- Tron TRX ID: 90
- Tether (ERC20) USDT ID: 70
- Tether (TRC20) USDT ID: 71
- Tether (BEP20) USDT ID: 72
- Binance Coin BNB ID: 130
- BUSD (ERC20) BUSD ID: 110
- BUSD (BEP20) BUSD ID: 203
- USD Coin (ERC20) USDC ID: 100
- USD Coin (BEP20) USDC ID: 101
- EOS (BEP20) EOS ID: 204
- Cardano (BEP20) ADA ID: 205
- Shiba Inu (BEP20) SHIB ID: 206
- Shiba Inu (ERC20) SHIB ID: 207
- Dash DASH ID: 208
3. Get a payment address. Don’t forget to enter the secret key, platform ID, and currency ID into the corresponding spots. 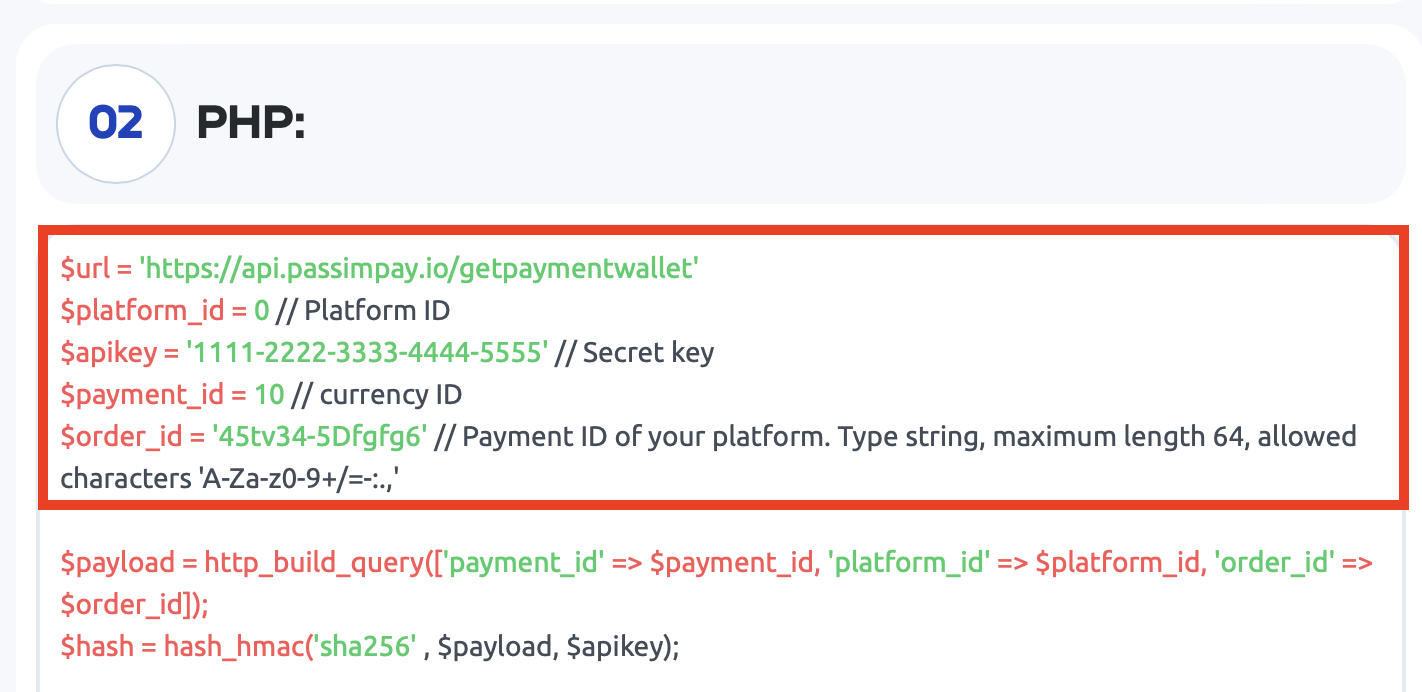
4. Check if the address is valid. After sending the request, the system will show you the result. If the API is connected correctly, the system will generate a payment address for processing payments. If not, the API will show the error which means you need to recheck all the parameters and find the error. After you get the address, you can create a QR code.
5. Receive a notification. Finally, you will get a notification to the URL address specified while adding a platform to PassimPay.
It's essential to verify the functionality of payment processing and notifications. Ensure that you receive notifications for specific actions from the respective platforms. Following this, you can fine-tune the code to send different requests and obtain specific outcomes. For instance, you can monitor whether payments for your products from clients are successfully received on your website and more.
6. Adjust withdrawals. If you want to withdraw money, specify your Platform ID, Currency ID, Secret key, wallet address, and payment amount.
7. Check the hash. If the withdrawal is successful, the system will show the transaction hash. If not, you will get an error and need to recheck the code.
Watch our detailed video guide explaining how to integrate PassimPay API into your website.
If you need information on how to integrate PassimPay API into your site, please, contact our support team.
We are always ready to help and provide all the details!