
WHMCS Payment Plugin
WHMCS is a commercial billing and automation platform for hosting providers, domain registrars, and digital service businesses.
It brings together invoicing, client management, product catalog, support tickets, automation hooks, and integrations in one admin area.
How does it work?

Create a business account in PassimPay

Add your project to your account

Download the WHMCS payment plugin

Integrate it using the instructions

Receive payments in cryptocurrency
When you set up the plugin, payments route through PassimPay, with funds instantly appearing in your account. Users select items, pay via a checkout page, and confirm the payment.
Detailed statistics, charts, and filters help track payments by project, date, and currency, accessible in your account for easy withdrawal.
Information about the WHMCS payment module
WHMCS is a commercial billing and automation platform for hosting providers, domain registrars, and digital service businesses.
The PassimPay payment plugin for this platform is a perfect payment processing solution for your business. It is easy-to-integrate and offers numerous features to users.
How to integrate the PassimPay plugin for WHMCS
Merge the modules folder from the archive into your WHMCS root (the directory that contains configuration.php and the existing modules folder). After merging, these paths must exist:
modules/gateways/passimpay.phpmodules/gateways/passimpay/PassimpayMerchantAPI.phpmodules/gateways/callback/passimpay.php
Recommendation: use a supported WHMCS version and PHP with the cURL extension enabled. The site should use HTTPS for production (especially for webhooks).
How to configure and activate the module
01 Log in to the WHMCS Admin Area.
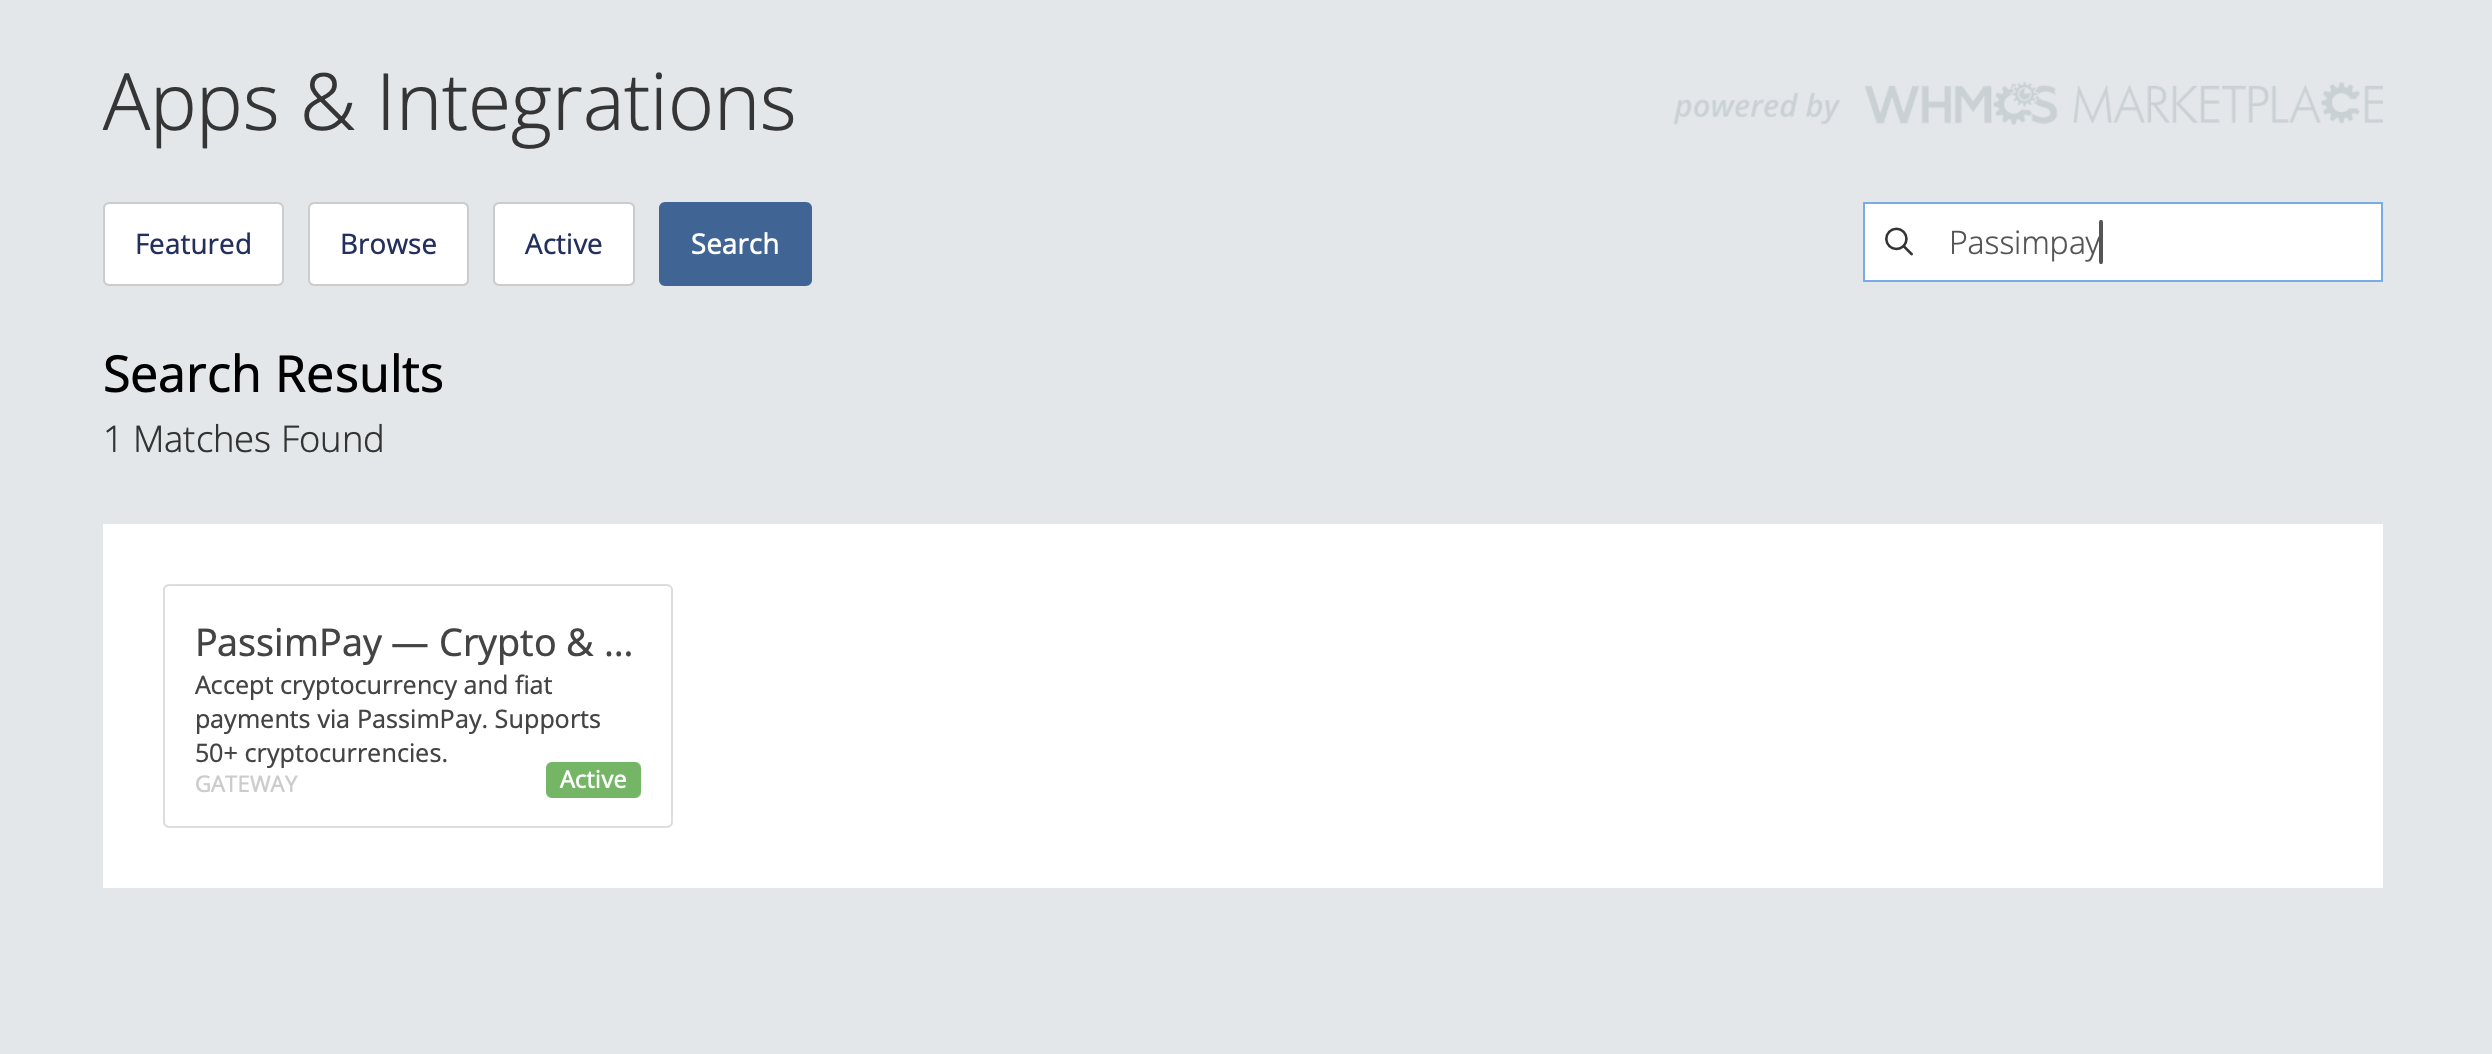
02 Open Apps & Integrations (or Configuration → Payment Gateways, depending on your WHMCS version).

03 Find PassimPay — Crypto & Fiat Payments and activate it (e.g. Activate / Manage).
04 In the settings, fill in the Platform ID and the Secret Key you received from PassimPay in your account https://passimpay.io/account/platform/module.
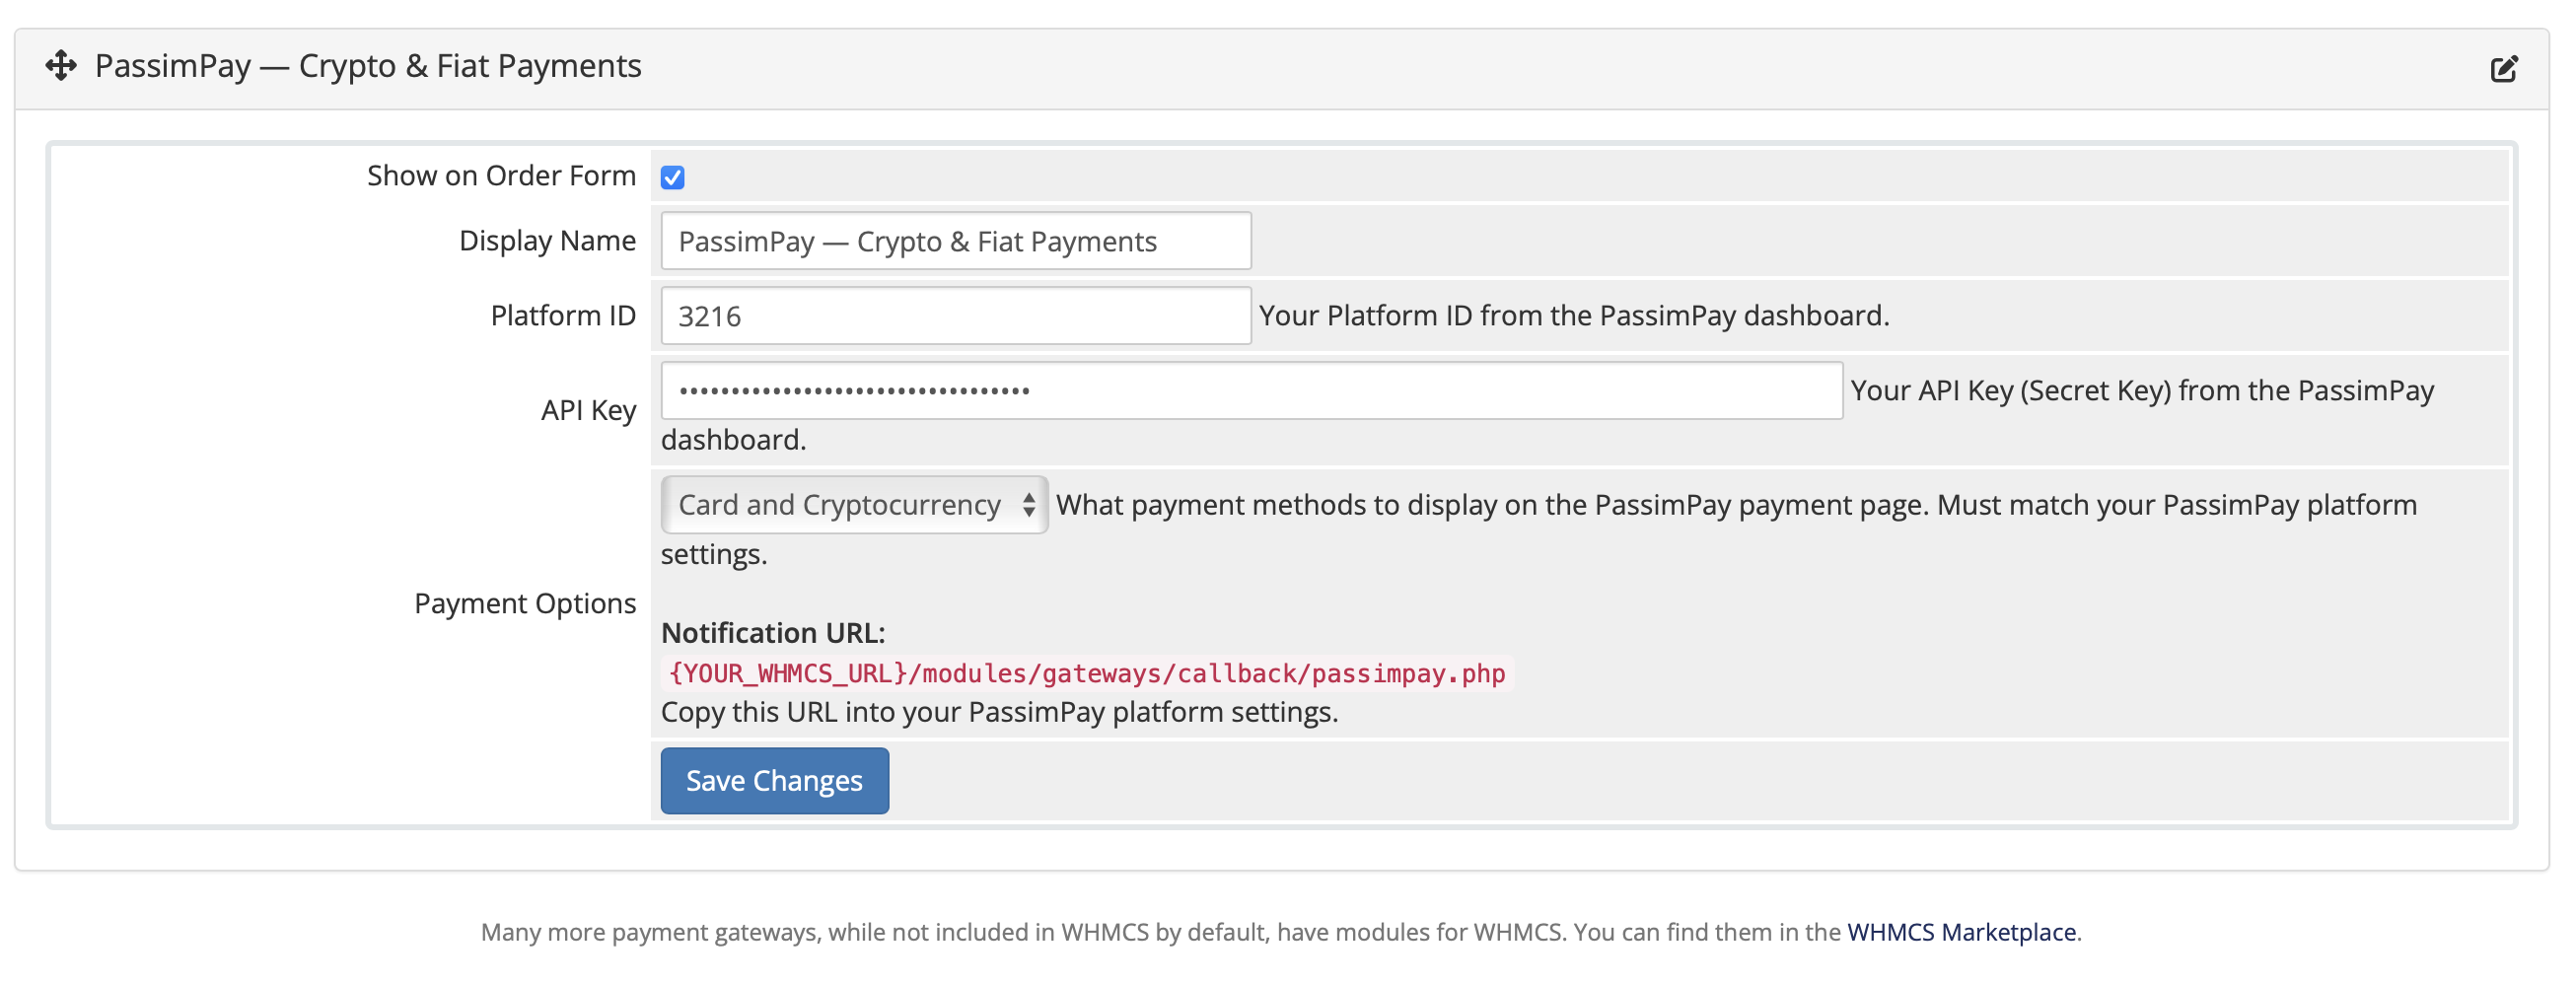
05 Under Payment options, choose what customers should see on the Passimpay payment page: Card and cryptocurrency, Cryptocurrency only or Bank card only.
This should match what is enabled in your Passimpay platform settings. If you use card payments, enable «Cards / Bank transfer» (or equivalent) in the Passimpay dashboard before offering card checkout.
06 Copy the Notification URL shown in the module configuration (it looks like): https://your-domain.com/modules/gateways/callback/passimpay.php
07 Click "Save Changes".
Important: Invoices are created in a currency your WHMCS supports. If you rely on a specific currency for PassimPay, ensure that currency is configured correctly in WHMCS (and that amounts match what you expect for testing).
The module is ready to use. Before going live, run a test payment on a test invoice and confirm the invoice becomes Paid after the webhook is received.