
Crypto Payment Plugin for Magento 2
The Magento e-commerce platform was created in 2008 and was acquired by Adobe in 2018. It was renamed Adobe Commerce and became part of Adobe Experience Cloud.
Magento provides all the necessary functionality for creating and managing an online store. In addition to the standard set of features, Magento also offers extensible capabilities and flexible customization.
How does it work?

Create a business account in PassimPay

Add your project to your account

Download the Magento 2 payment plugin

Integrate it using the instructions

Receive payments in cryptocurrency
When you set up the plugin, payments route through PassimPay, with funds instantly appearing in your account. Users select items, pay via a checkout page, and confirm the payment.
Detailed statistics, charts, and filters help track payments by project, date, and currency, accessible in your account for easy withdrawal.
Information about the payment module for Magento 2
To make your products more accessible to the audience on your website, you can use the PassimPay payment module for Magento 2-based projects.
It provides numerous options for accepting payments in over 50 cryptocurrencies and integrates easily with Magento.
How to integrate the plugin for Magento 2
01 Copy the contents of the app directory to the root directory of your project (without replacing any existing files).
02 Install the payment module using the command php bin/magento setup:upgrade in the root directory of your project.
03 Run php bin/magento setup:di:compile
If you encounter any write permission issues while running the command, execute the command sudo chmod 777 -R * in the root directory of your project, and then run the command again.
To configure and enable the module, you need to:
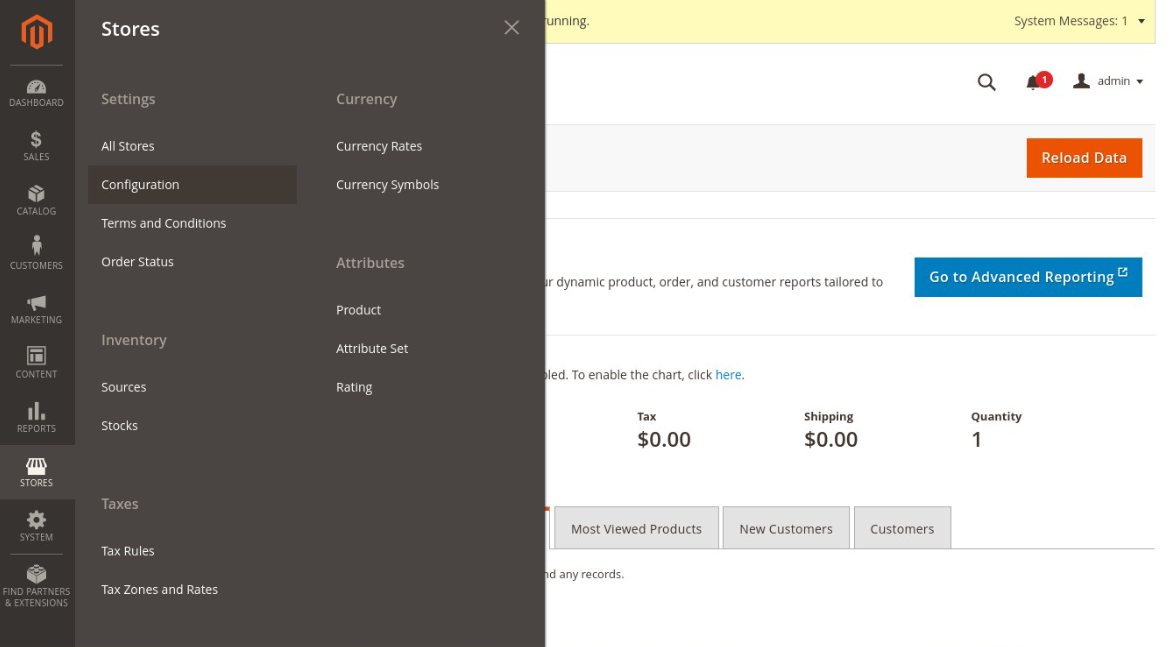
01 Go to the administration panel Stores / Configuration / Sales / Payment Methods.
02 Find PassimPay Payment and enter the data obtained from https://account.passimpay.io/platform/module. To access this data, you need to have a business account on PassimPay. NOTE: In most cases, the Gateway should be set to "https://passimpay.io/api".
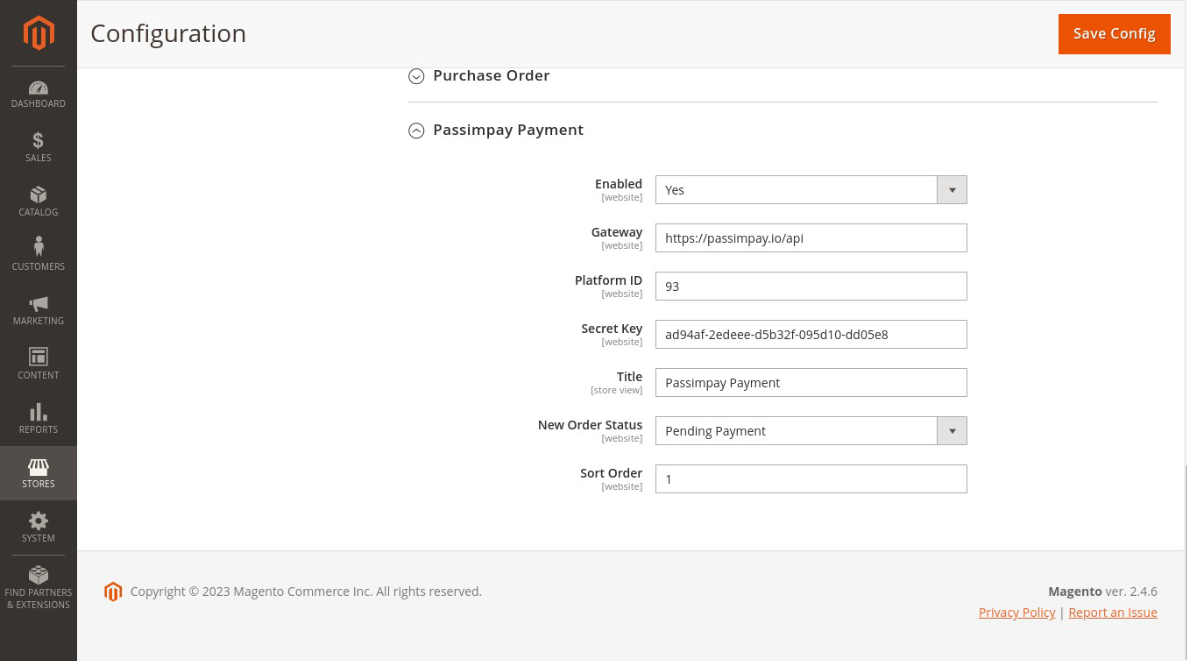
03 To apply the settings, clear the cache in System / Cache Management.
04 If the plugin is installed successfully, the new payment option will appear in the checkout.
The plugin is ready to use! Before launching the plugin, we recommend conducting a test payment.